
| Variant | Quantity | Price | Variant Total |
|---|
Pipe Lighting Accessories

3/4 BSP Malleable Iron Pipe Fitting | Black Painted Steampunk
From £0.79

Black Malleable Iron Pipe Fittings BSP 3/4 | Joint Connector
From £0.99

Best galvanised iron pipe light fittings & accessories
From £0.99


3/4" Inch Industrial Malleable Iron Pipe Fittings Connectors Joints
From £2.09


Malleable Iron Pipe Lights~1164
£3.35

Industrial Iron Pipe Floor Flange – Black Pipe Fitting
From £0.95


Iron threaded Pipe accessories of Pipe lighting
From £3.99
Discover Essential Pipe Light Fitting Accessories for Your Next Project
When you're planning to make your own pipe lights, having the right parts makes all the difference. Here are some important things to keep in mind:
Key Takeaways
- Choosing the correct pipe lamp sockets and fittings is key for both looks and safety.
- Think about the finish of your pipes – black, galvanized, or painted can change the whole style.
- Don't forget the electrical bits like lamp cord and power whips for a working light.
- Tools like wire strippers and screwdrivers are needed, and secure mounting is important.
- You can mix pipes with other materials like wood for unique lamp designs.
Essential Pipe Light Fitting Accessories
When you're planning a pipe light project, getting the right accessories is half the battle. It's not just about the pipes themselves; it's all the bits and bobs that hold it together and make it work. Think of it like building with LEGOs, but for grown-ups, and with electricity involved. You wouldn't try to build a house without bricks and mortar, right? Well, you can't make a proper pipe light without the correct fittings and sockets.
Understanding Pipe Lamp Sockets
The lamp socket is where the magic happens – it's where the bulb screws in. For pipe lighting, you'll often see specific sockets designed to integrate neatly with the pipe threads. These aren't your standard light fittings you'd find in a typical home improvement store. They're usually made of metal or a heat-resistant plastic and come with threaded bases that match the standard pipe sizes, like 1/8 IPS or 1/4 IPS. Getting the right socket is vital for both the look and the safety of your lamp. Some kits come with pre-wired sockets, which can be a real time-saver if you're not comfortable with wiring.
Choosing the Right Pipe Fittings and Tubing
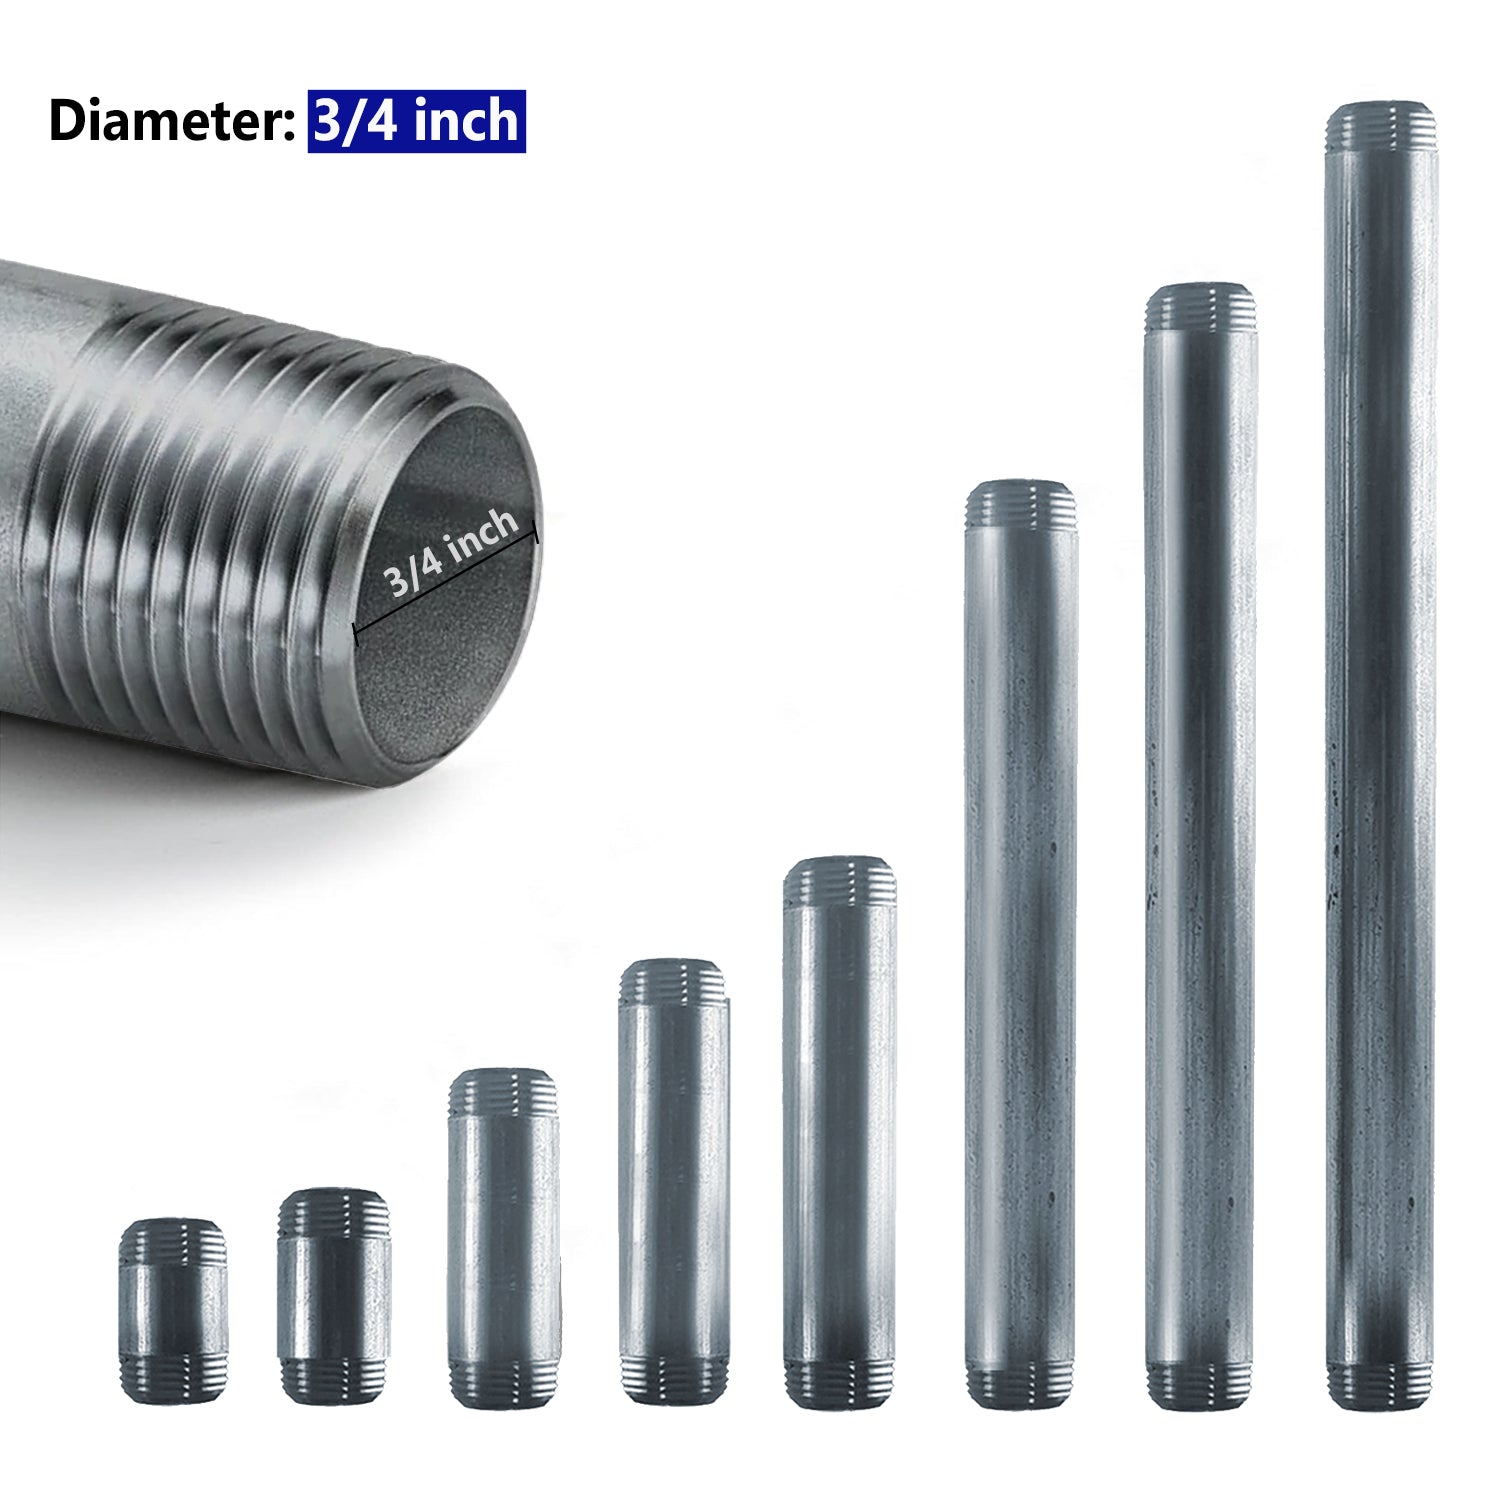
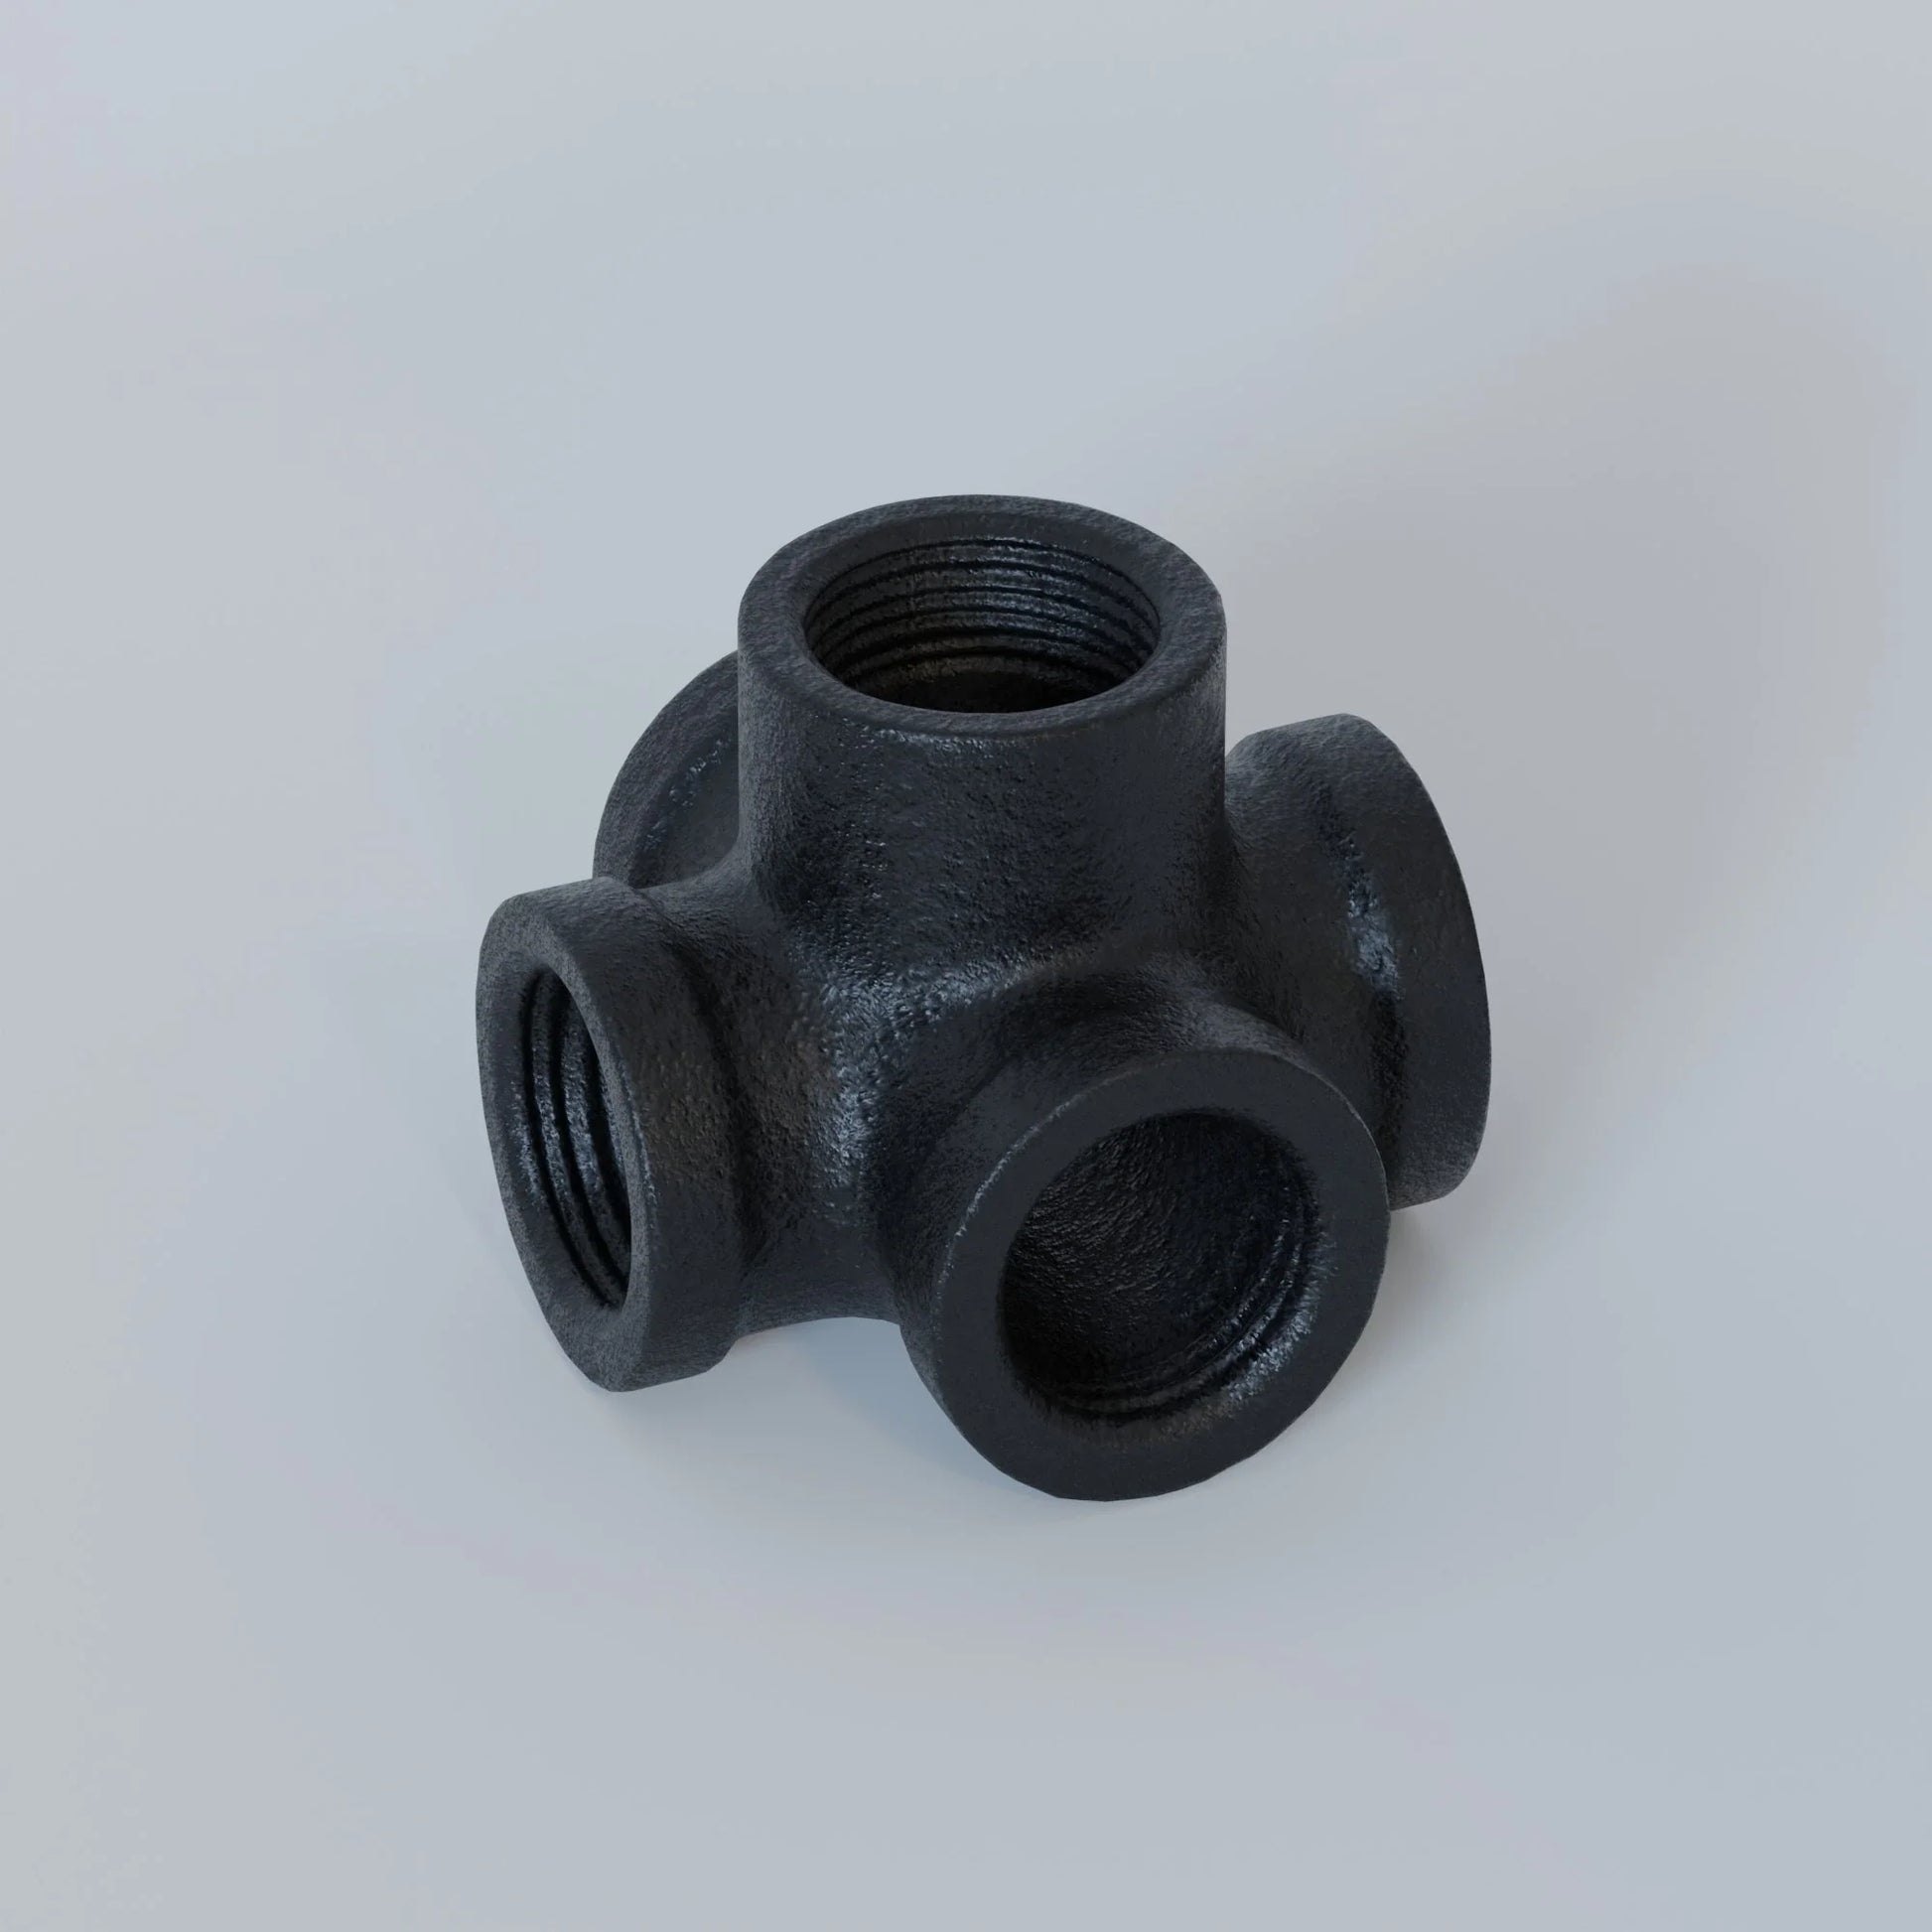
This is where you get to be a bit of an architect. You'll need various pipe fittings like elbows, tees, and couplings to shape your light. The type of tubing you choose also matters – black iron pipe gives a classic industrial look, while galvanised pipe offers a slightly different, perhaps cleaner, aesthetic. You can find all sorts of connectors and joints to get creative with your design. For example, swivel joints can add adjustability, letting you direct the light where you need it most. It’s worth looking at a good selection of pipe lighting accessories to see what’s out there.
The Importance of Canopies and Covers
These might seem like small details, but canopies and covers are important for a finished look and for safety. A canopy is often used where the light fixture meets the ceiling or wall, hiding the wiring and mounting hardware. For table lamps, a base or flange acts as a canopy, providing stability and a neat finish. Covers can also be used to conceal junction boxes or other electrical components, keeping everything tidy and safe. When looking for a pipe lighting accessories kit, check if these items are included or if you need to source them separately.
Building your own industrial pipe lighting in the UK doesn't have to be complicated. With the right components, even a beginner can create something that looks professionally made. It’s all about selecting the correct pipe light fittings and understanding how they connect.
Here’s a quick look at some common pipe sizes you might encounter:
| Pipe Size (IPS) | Common Uses |
|---|---|
| 1/8" | Smaller lamps, decorative elements |
| 1/4" | Standard lamp construction, more robust fixtures |
| 1/2" | Larger fixtures, industrial lighting fixtures |
Wiring and Electrical Components for Pipe Lights
Right then, let's get down to the nitty-gritty of making your pipe light actually work. This is where things get a bit more technical, but honestly, it's not as scary as it sounds. Getting the wiring right is absolutely key for both safety and making sure your creation lights up the room.
Selecting Appropriate Lamp Cord
Choosing the right lamp cord is more than just picking a colour, though there are loads of great cloth-covered options available these days. You need to think about the cord's gauge – that's its thickness – and how much power it needs to handle. For most standard DIY pipe lamps, a 18-gauge cord is usually perfectly fine. It's vital to match the cord's rating to the wattage of the bulb you plan to use. You'll also want to consider the length you need; it's always better to have a bit too much than not enough. Some people like to run the cord right through the pipes for a really clean look, while others prefer to have it exit a fitting and then use a decorative braided cord. You can find all sorts of lamp cord options to suit your style and needs.
Power Whips and Extension Cords
Sometimes, your beautifully crafted pipe light won't be right next to a plug socket. That's where power whips and extension cords come in. A power whip is essentially a cord with a plug on one end and bare wires on the other, designed to be wired directly into a fixture. Extension cords, on the other hand, are ready-made solutions to give you that extra reach. When selecting these, again, pay attention to the gauge and ensure they're rated for the intended use. For a more permanent installation, a power whip might be the way to go, but for simpler setups, a good quality extension cord can do the job.
Safe Wiring Practices for DIY Projects
Safety first, always. When you're dealing with electricity, there's no room for cutting corners. Here are a few pointers:
- Always disconnect power at the source before you start any wiring. Double-check that it's off!
- Make sure all connections are secure. Loose wires are a fire hazard.
- If you're unsure about any part of the wiring process, don't guess. It's worth looking up detailed guides or even asking someone with a bit more experience. You can find some helpful wiring tutorials online.
- Ensure your socket and any other electrical components are properly rated for the voltage and current you'll be using.
Working with electricity can seem a bit intimidating at first, but by taking your time, using the right parts, and following basic safety rules, you can successfully wire your own unique light fixtures. It's about understanding the flow of power and making sure everything is connected correctly and safely.
Remember, using components designed for lighting projects, like specific lamp sockets and appropriate gauge wire, makes the whole process much safer and easier. Don't try to repurpose household wiring; stick to what's made for lamps.
Enhancing Your Pipe Light Design
So, you've got your pipes, your fittings, and you're ready to wire it all up. But before you get to that stage, let's chat about making your pipe light truly yours. It's not just about function; it's about making a statement, right? Think about the space it's going into. Is it a cosy reading nook that needs a warm glow, or a workshop that demands something more industrial and robust? The finish you choose for your pipes can totally change the vibe.
Exploring Different Pipe Finishes
Raw black iron pipe is a classic for a reason – it's got that gritty, authentic industrial look. But don't stop there! You could go for a galvanised finish if you want something a bit brighter, almost silvery. Or, why not get creative with paint? A matte black spray paint can give a sleek, modern feel, while a metallic bronze or copper could add a touch of warmth and sophistication. I've even seen people use vibrant colours to make a real pop in a minimalist space. It's all about what suits your style.
| Finish Type | Appearance |
|---|---|
| Black Iron | Dark, matte, classic industrial |
| Galvanised | Silvery, slightly shiny, clean industrial |
| Painted (Matte) | Uniform colour, modern, can be any shade |
| Painted (Metallic) | Rich, reflective, adds warmth and depth |
Incorporating Decorative Elements
This is where you can really let your personality shine. Beyond just the pipes themselves, think about what else you can add. Some folks like to add pressure gauges or old-fashioned valves for a true steampunk feel. Others might incorporate small gears or metal plates. Even something as simple as using different sizes of pipe and fittings can add visual interest. Don't be afraid to mix and match components to create a unique silhouette. For a softer touch, consider combining your pipework with other materials. A sturdy wooden base, perhaps made from reclaimed timber, can add a lovely warmth that contrasts beautifully with the metal. You could also look at adding elements like decorative wire cages around the bulb for extra flair.
Combining Materials for Unique Fixtures
Pipe lights don't have to be just pipes. I've seen some amazing designs that blend metal with wood, glass, or even concrete. Imagine a heavy, solid wood base with a cluster of black pipes rising from it, holding exposed Edison bulbs. Or perhaps a clear glass shade fitted onto a pipe nipple, creating a more refined look. The possibilities are pretty much endless. You could even integrate elements from other DIY projects, like using parts from an old machine or repurposing interesting metal scraps. It’s all about seeing the potential in everyday objects and putting them together in a new way. If you're looking for inspiration on putting together a basic pipe lamp, checking out a DIY black pipe light fixture guide might give you some solid starting points for assembly.
Tools and Hardware for Pipe Light Assembly
Putting together your own pipe light might seem a bit daunting at first, but with the right tools and hardware, it’s actually quite manageable. You don't need a whole workshop full of gear; a few key items will see you through.
Essential Hand Tools for Lighting Projects
When you're assembling a pipe light, having a few basic hand tools makes all the difference. These are the workhorses that help you connect, secure, and finish your project.
- Wire strippers/cutters: You'll need these to expose the wire ends for connecting to the socket. Getting the right amount of insulation off is key for a safe connection.
- Screwdrivers: A set with various sizes, especially Phillips head, will be handy for attaching flanges, sockets, and any decorative elements.
- Adjustable wrench or pipe wrench: Useful for tightening pipe fittings securely. You don't want your lamp wobbling!
- Thread sealant or PTFE tape: For ensuring your pipe threads are sealed properly, preventing any leaks if you're using plumbing pipes that might carry water (though for lamps, this is more about a solid connection).
Secure Mounting Solutions
How your pipe light attaches to its surface is pretty important for both safety and aesthetics. You'll want something sturdy that looks good too.
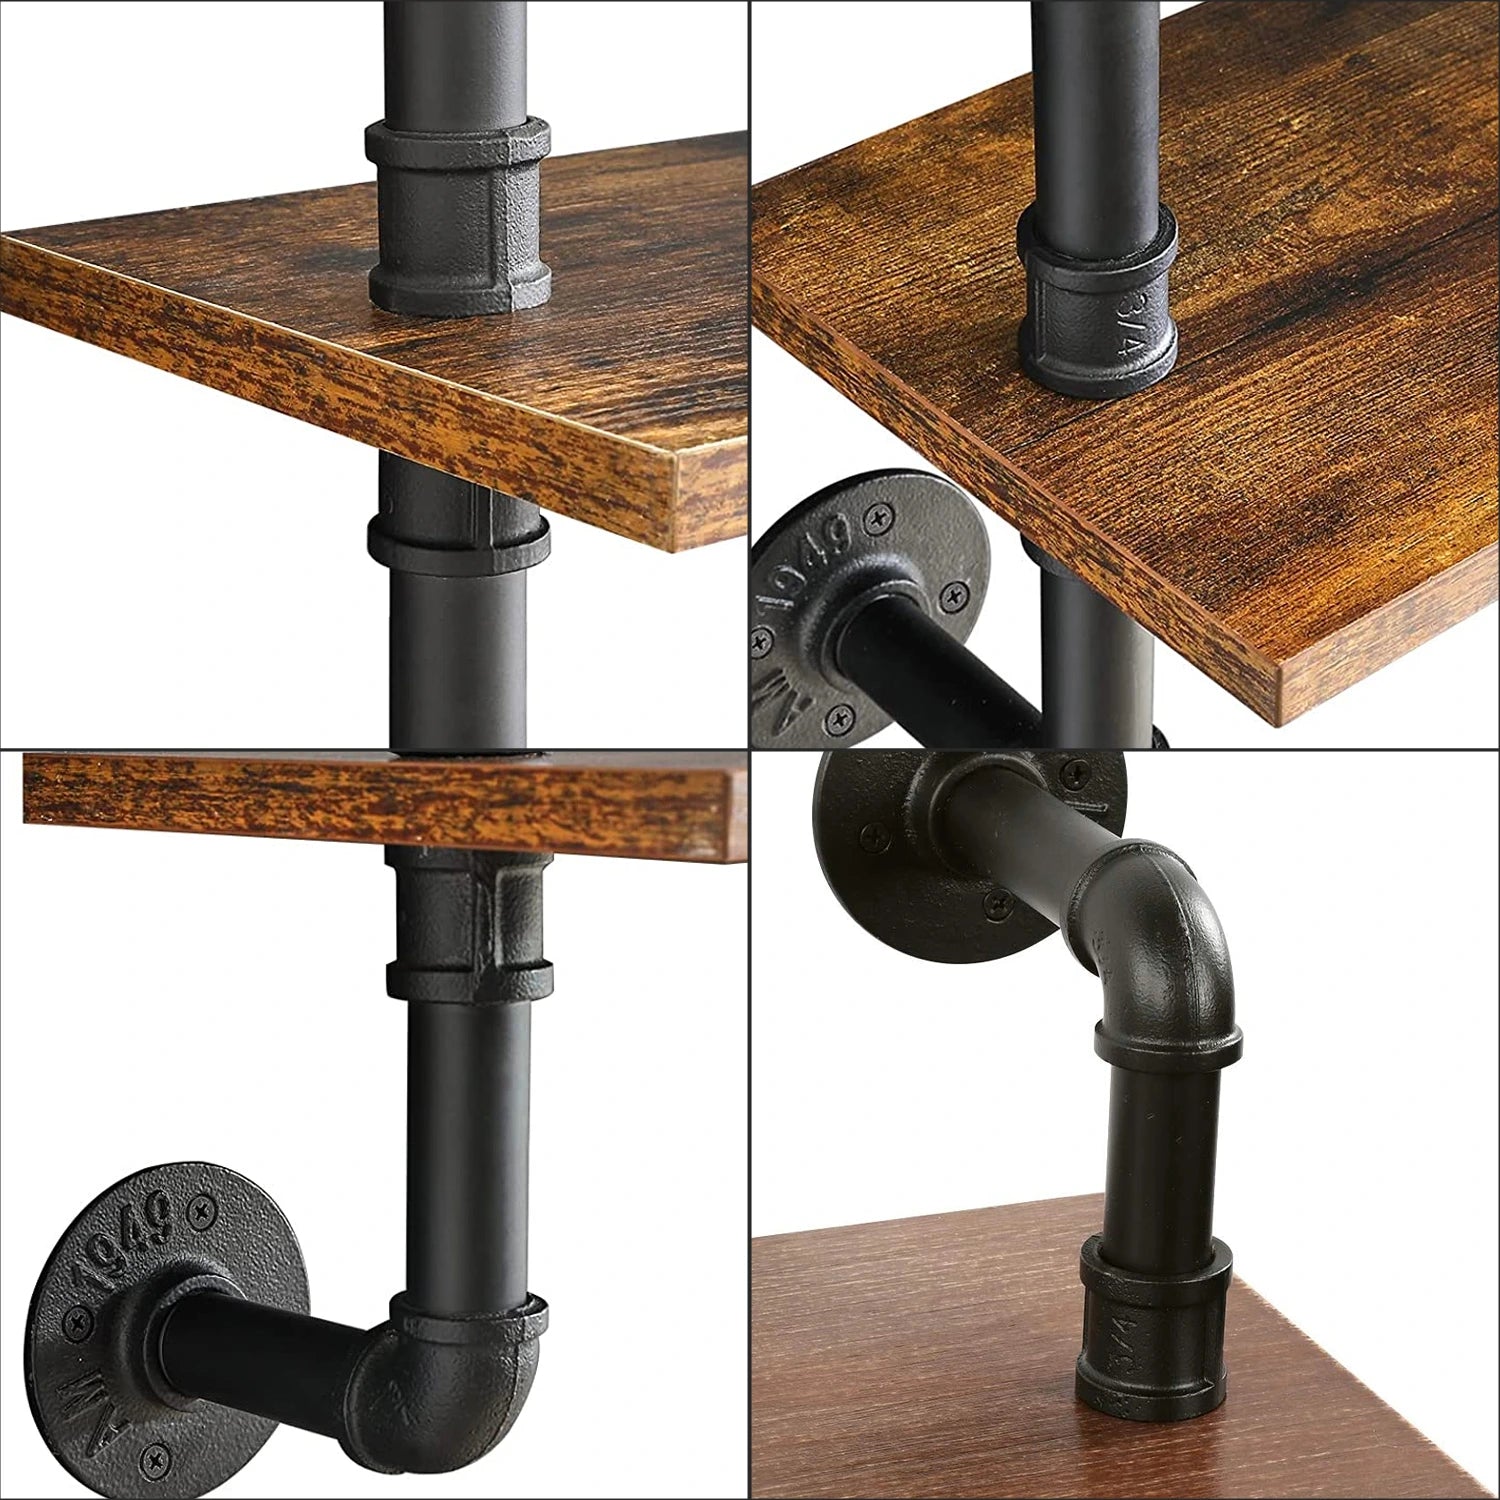
- Flanges: These are typically circular metal plates with screw holes that attach to the wall or a base, providing a solid point to screw your pipe into. They come in various sizes and finishes to match your pipes.
- Mounting brackets: Depending on your design, you might need specific brackets to hold pipes in place, especially for wall-mounted or ceiling fixtures.
- Adhesives and epoxies: For certain materials or when you need an extra-strong bond, a good quality adhesive can be a lifesaver. Just make sure it's suitable for the materials you're joining.
Hardware Kits for Simplified Assembly
Sometimes, trying to source every single nut and bolt can be a hassle. That's where pre-packaged hardware kits come in handy. These kits often contain specific components designed to work together, taking some of the guesswork out of the process. For instance, you can find kits that include threaded rods and coupling nuts, which are perfect for extending pipe sections or creating lamp stems.These kits can really streamline your build, especially if you're new to lamp making.
Always double-check the compatibility of all your parts. While many pipe fittings are standard, using components from different manufacturers or for different purposes (like actual plumbing versus decorative pipe) can sometimes lead to unexpected issues. It's better to spend a little extra time confirming sizes and thread types beforehand than to discover a problem halfway through your project.
Creative Applications of Pipe Light Fitting Accessories
So, you've got your pipes, your sockets, and all the bits and bobs sorted. Now for the fun part: actually making something cool with them! Pipe light fittings aren't just for one look; they're surprisingly versatile. You can go full industrial, or you can soften them up. It really depends on what you're going for.
Industrial Style Table Lamps
This is probably the most common use, and for good reason. Black iron pipes, maybe with some flanges for a base, and a simple socket on top. It's a look that screams 'workshop chic' and works brilliantly in a modern loft or a more rustic setting. You can play around with different pipe lengths and angles to create a unique silhouette. Think about adding a pressure gauge or two for that extra authentic industrial feel. It’s a great way to design a custom light fixture that really stands out.
- Use varying pipe diameters for visual interest.
- Consider adding a dimmer switch for mood control.
- Pair with an Edison-style bulb for that classic filament look.
Steampunk Inspired Fixtures
If you're into the whole steampunk aesthetic, pipe fittings are your best friend. This style loves exposed mechanics and a vintage vibe. You can incorporate gears, old clock parts, or even bits of brass. Imagine a lamp with exposed copper pipes, a few decorative gauges, and maybe even a small, functional valve. It’s all about layering textures and materials. Some people even use old plumbing parts for an authentic touch. It’s a fantastic way to create something truly unique, like the pipe shelving with integrated lighting projects you can find inspiration for.
Steampunk lighting often involves a mix of metal finishes, like aged brass, copper, and dark iron, combined with warm, glowing bulbs. Don't be afraid to get a little messy with paint or patinas to achieve that 'found object' look.
Minimalist Pipe Lighting Designs
Don't think pipe lights have to be bulky and industrial. You can absolutely strip them back to something super clean and modern. Think single, straight pipes, perhaps in a brushed nickel or a matte white finish, with a very simple socket and a sleek bulb. This style works well in spaces that are already quite busy with furniture or art, where you want the lighting to be functional but not overpowering. It’s about clean lines and letting the form speak for itself. You can even hide the wiring inside the pipe for an ultra-tidy look. This approach is perfect for creating a minimalist table lamp that complements your decor without stealing the show.
Unleash your creativity with our pipe light fitting accessories! These handy bits and bobs can transform simple pipes into stunning lighting features for your home or business. Imagine unique lamps, eye-catching ceiling lights, or even quirky wall sconces. The possibilities are endless, and it's easier than you think to get started. Ready to bring your lighting ideas to life? Explore our range of DIY accessories on our website today!
Conclusion
Building your own pipe lights can be a really fun and rewarding project. With the right Pipe Light Fitting Accessories, you can create something that looks amazing and works perfectly. Don't be afraid to get creative with finishes and extra bits to make it truly yours. Remember to always think about safety when you're dealing with wiring. Happy building!